When Surfing on social networks, you can use one of the most popular social media, Instagram. Instagram is a popular social media platform that allows users to share photos and videos with their followers. And based on its basic function, these posts will be saved to your camera roll, but what will happen if you do not like it? There is nothing to worry about because here I want to explain how to stop Instagram from saving posts to camera roll. So, do not waste time and keep reading until the end.
How to stop Instagram from saving posts to camera roll
When you save a post on Instagram, it saves your device’s camera roll or gallery. However, you can manually change your account settings and prevent it. To know more about how to stop Instagram from saving posts to camera roll, read the below paragraphs:
On Android:
If you are an Android user, the below steps help you reach your goal and prevent your Instagram posts from being saved on your camera roll:
- Open the Instagram app.
- Choose your profile icon from the bottom right side.
- Select the three horizontal lines from the top right side and open the menu.
- Choose “Settings” from the menu.
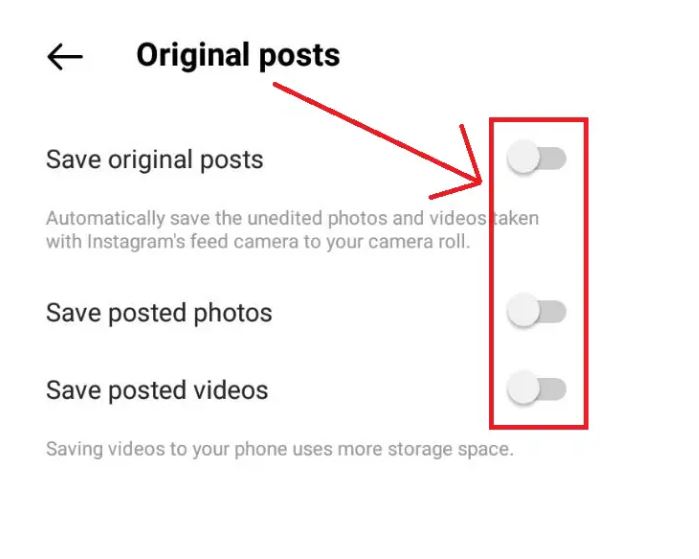
- Go down and find the “Account” section, then select “Original Posts”.
- Toggle off the “Save Original Posts” option.

On iPhone:
If you are an iPhone user and like to stop Instagram posts from saving on your camera roll, you should know that as this process is done through the Instagram app set, the steps are the same as what I mentioned for Android users, such as:
- Tap your profile picture and open the side menu.
- Choose Settings at the bottom and select Account.
- Go down to reach Original Photos.
- Finally, turn off the toggle for Save Original Photos.
How to remove saved posts from Camera Roll?
Now, if you want to know how to remove the saved Instagram posts from your iPhone’s Camera Roll, you should read this paragraph until the end and follow these steps:
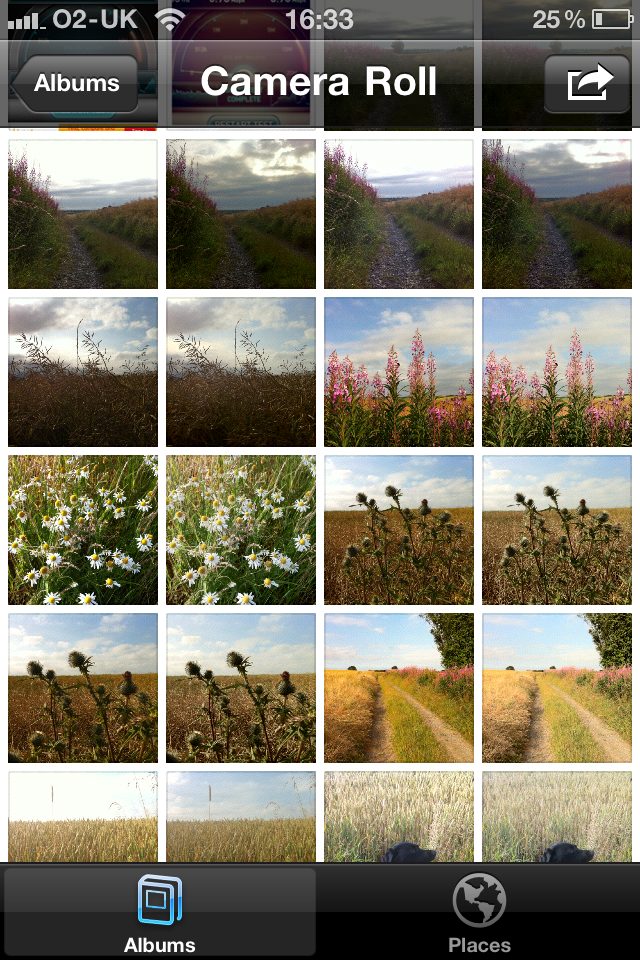
- Open the Photos app on your iPhone.
- Navigate to the “Albums” tab at the bottom of the screen.
- Scroll down and find the “Recently Added” or “All Photos” album. These albums typically contain the photos and videos from your Camera Roll.
- Locate the saved Instagram post(s) you want to remove from your Camera Roll.
- Tap on the “Select” option in the top-right corner of the screen.
- Choose each Instagram post you want to remove. You can select multiple posts by tapping on each of them.
- Once you have selected the posts, tap on the trash bin icon or the delete option.
- Confirm the deletion when prompted.
Remember that removing posts from the Camera Roll will permanently delete them from your device, and they will no longer be accessible in any other apps or galleries.

Why is it recommended to stop Instagram from saving posts to your camera roll?
There could be several reasons why some people may prefer to stop Instagram from saving posts to their camera roll. It’s important to note that these reasons may vary depending on individual preferences and circumstances. Here are a few possible reasons:
- Storage Management:
Instagram posts, especially if saved frequently, can occupy significant storage space on your device’s camera roll. You can free up storage space for other files and apps.
- Privacy and Organization:
Saving every Instagram photo or post to the camera roll can clutter your photo gallery and make it hard to find personal photos or videos. By disabling this feature, you can keep your camera roll organized and Instagram content.
- Offline Access:
Instagram is primarily an online platform, users can access their saved posts within the app. If you prefer to view your saved posts exclusively within the Instagram app and don’t require offline access, disabling automatic saving to the camera roll can be useful.
- Content Filtering:
Some Instagram users may prefer to curate their camera roll with specific photos and videos that align with their preferences. By preventing Instagram from saving posts to the camera roll, you can exercise more control over the content that appears in your gallery.
How to save posts on Instagram?
Do you like to save posts on Instagram? By following these steps, you can save posts on Instagram and access them later in your “Saved” collection.
- Open the Instagram app on your device and log in to your account if necessary.
- Scroll through your Instagram feed or visit the profile of the user whose post you want to save.
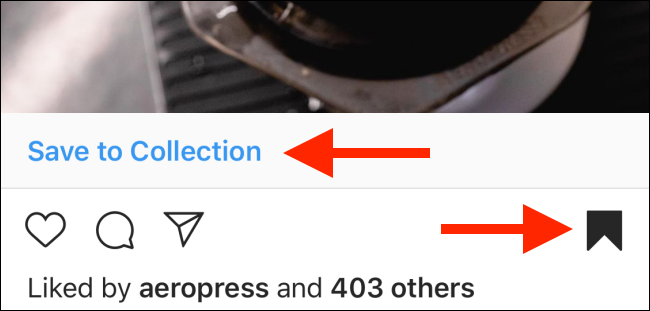
- Find the post you want to save.
- Tap on the bookmark icon below the post.
- The icon looks like a small flag or ribbon.
- You can access your saved posts by tapping on your profile icon at the bottom right of the screen, then tapping on the menu icon (three horizontal lines) in the top right corner.
- select “Saved” to view all your saved posts.

Conclusion:
In conclusion, Instagram is a popular social media platform that allows users to share photos and videos with their followers. There is no built-in feature to prevent Instagram from saving posts to your device’s camera roll, you can manually delete the saved posts from your gallery or photo app. Saving posts on Instagram is easy and can be done by tapping the bookmark icon below a post. The decision to stop Instagram from saving posts to the camera roll is a personal choice and by reasons such as storage management, privacy concerns, organization, and content filtering. Remember to refer to the latest version of the Instagram app and its official documentation for the most accurate and up-to-date instructions on using its features.
