Instastalker has various kinds of Instagram stalkers, and you cannot understand who stalked your profile or has seen my Instagram profile? Instagram enables people to review your profile. But they do not allow you to understand who attended your profile. But if you change your account to the content creator, you can see all the characters who visited your profile in the preceding seven days.
Instagram is regularly renewing its algorithm and wants to promote the app for users. It concentrates on support Instagram as a marketing platform is the main point.
Here, I will talk about:
- Who are your Instagram Stalker?
- Can You Find Who Looks at Your Instagram on Business Account or Content Creator?
- Can I See Who Surveyed My Instagram Profile?
- How to View Who Saw My Instagram Profile: Third-party App Alternatives
Who are your Instagram Stalkers?
You might want to find who your IG stalker is, but sadly, you can not understand it because of the privacy issues. Instagram needs to preserve user activity and your private information secure.
If they carry on this important part, app developers and hackers can get above your IG account.
Update to the trading account if you have not done so now, and use the available options of Instagram Business Account. Two types of users might be your stalkers. You will find who viewed your profile on one condition, and in the second type are users who you can not.
Can You Find Who Looks at Your Instagram on Business Account or Content Creator?
- Business Account: If you try to promote your account to a business one, does that indicate you can get out your Instagram stalkers? However, a business account is more reliable than a private account, at least you can view the number of visitants that get to your IG page, or it can be named InstaStalker.
- Content Creator: To be a content creator, you need a new Instagram update based on your Instagram stalker’s decisions. It is a different type of account related to a business account, and over you can not understand who saw my Instagram profile.
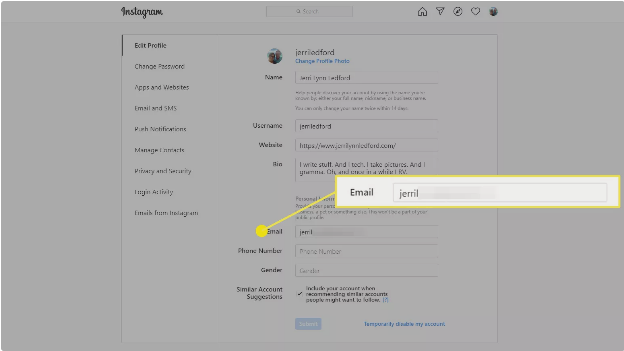
Can I See Who Surveyed My Instagram Profile?
There are a couple of points on Instagram you can control who surveyed my Instagram profile.
While you can not see that on your Instagram profile if you change it up to a business page or content creator Instagram page, so you can find the number of visitors stalking on your Instagram page. But do not be frustrated yet, Instagram worked its best to defend its user secrecy, and it is good for you. Instagram declined to determine who saw my Instagram profile because that needs some kind of coding. If other app developers recognize it, they will utilize your information to make their app. If you hear that someone mistakenly tells you it is possible to see or apps that help you find who viewed your profile, do not accept it.
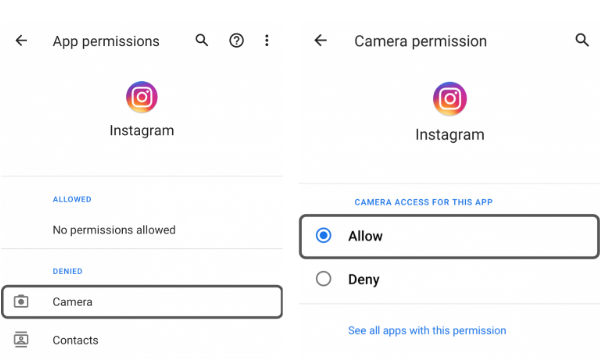
If you decide to join your Instagram to an uncertain third-party app, you accept the risk that your profile may get Instagram action blocked and assume that often will make you banned.
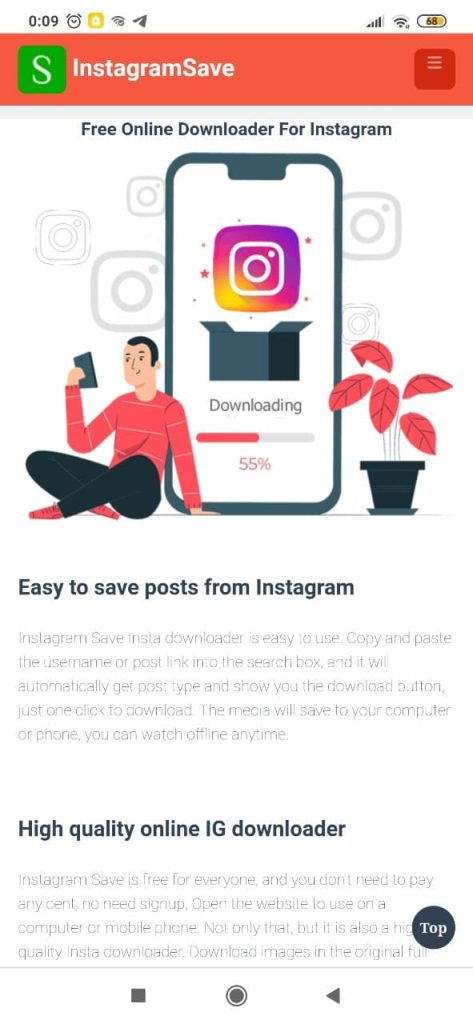
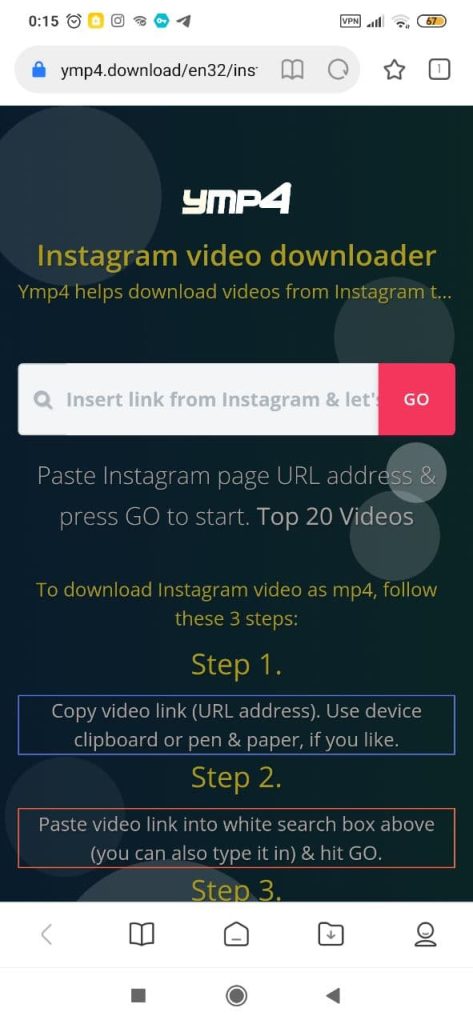
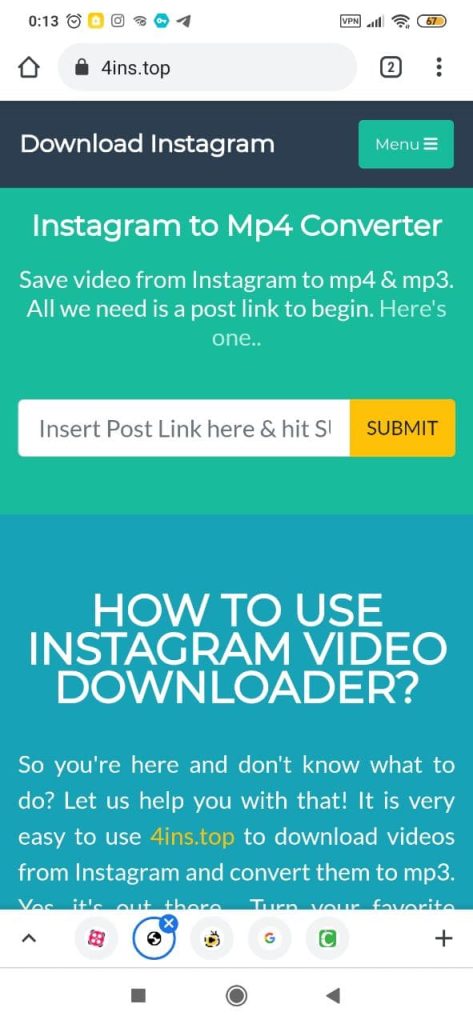
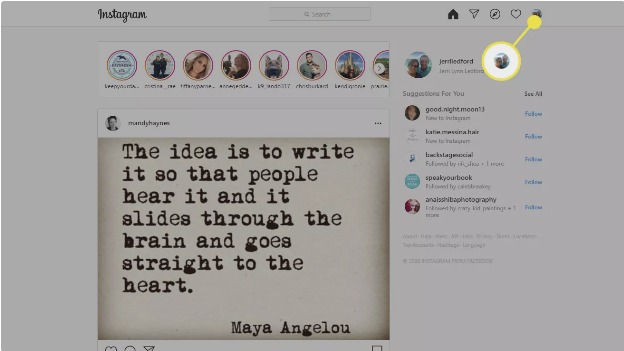
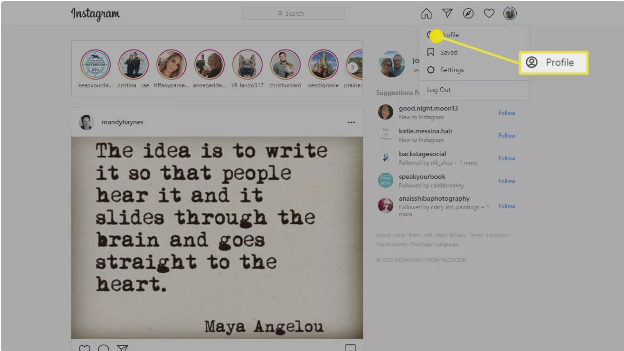
How to See Who Viewed My Instagram Profile?
Let’s see some alternative Insta stalker apps. At first, I want to name some apps that will help if you use the IOS system.
- Visitors Pro App is a simple app that you can install to analyze your account. It causes you a large number of followers and likes.
- Instagram Analyzer is an IG analyzer that is similar to the HypeAuditor version but cheaper.
- Social plus for Instagram App is another option that has the most convincing reports received by MultiTap.
Also, there are some Android Apps to See Instagram Stalker like Follower Insight for Instagram App, follower analyzer for the Instagram app, follower insight for Instagram, tracker, analyzer App, follower analyzer for Instagram – follower tracker, insights for Instagram, ghosts, followers, and stories.
Conclusion:
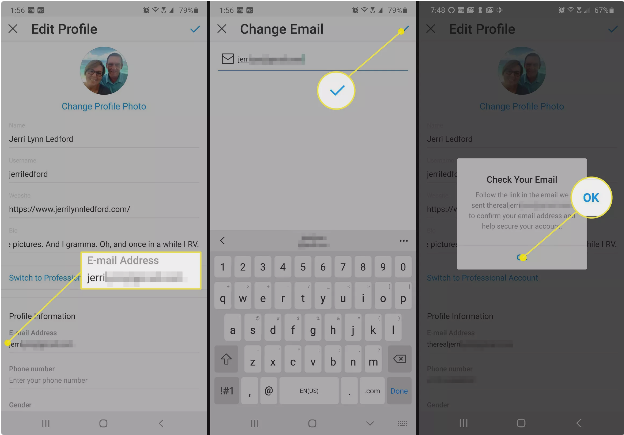
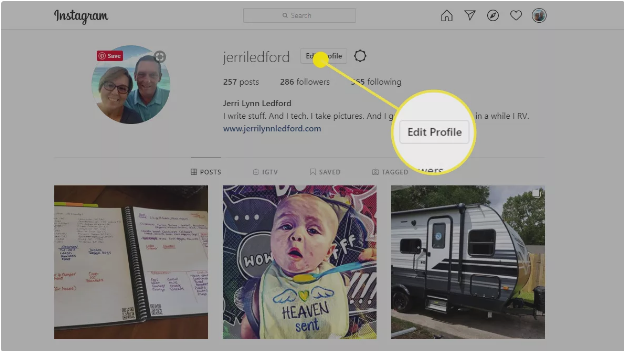
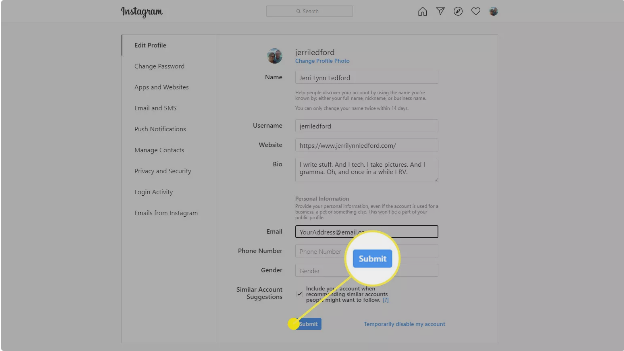
If you need to find people who visit your profile, you have to change your Instagram page to a business or content creator page.
Remember that you cannot understand who saw my Instagram profile, but you can get out through an IG story.
In the above post, you can read more about topics like that.