Are you frustrated with your browser blocking pop ups that you actually need? Pop ups can serve important functions and provide valuable information, but sometimes they can be annoying. If you’re using Google Chrome and want to enable pop-ups, you’ve come to the right place. In this guide, we’ll walk you through the steps on how to allow pop ups on Chrome, whether you want to enable them for all websites or only for specific sites.
Why Most Pop Ups Are Blocked by Default?
Before we get into the steps on how to allow pop ups on Chrome, let’s understand why they are blocked in the first place. Google Chrome blocks pop-ups as a security measure to prevent malicious websites from opening unwanted windows or displaying deceptive content.
This helps protect your computer from malware, phishing attempts, and other potential threats. While this feature is beneficial, it can also block legitimate pop-ups that you may want to see.
How to Allow Pop Ups on Chrome?(Easy Steps)
If you want to allow pop-ups for all websites you visit, follow these steps:
- Open Google Chrome on your computer.
- Click on the three-dot menu icon in the top-right corner of the window.
- From the drop-down menu, select “Settings.”
- Scroll down and click on “Privacy and security” in the left sidebar.
- Under the “Privacy and security” section, click on “Site settings.”
- Scroll down and or find “pop-ups”, in “site settings)
- click on “Pop-ups and redirects.”

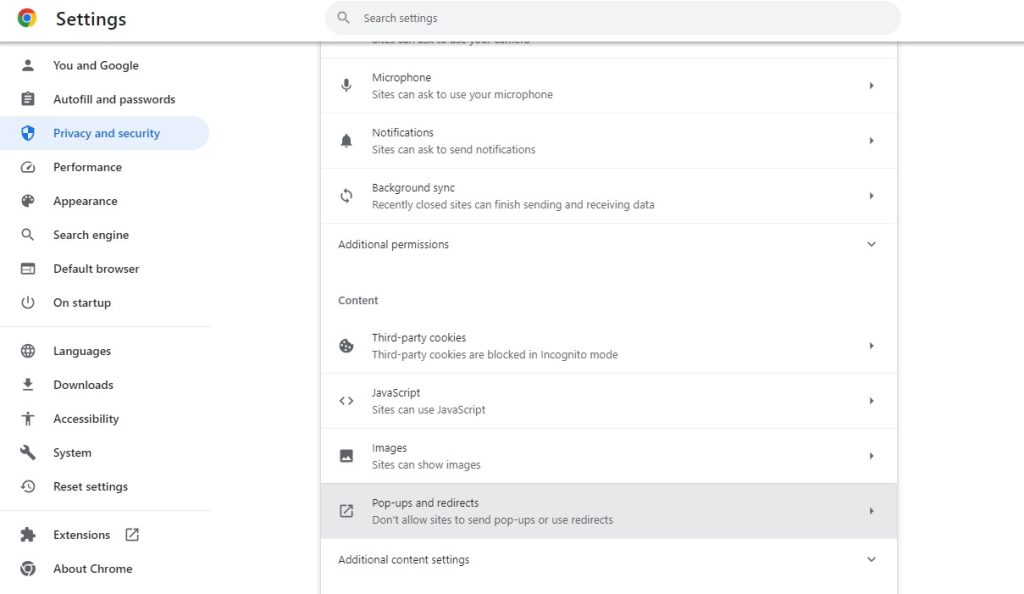
- Toggle the switch next to “Blocked” to turn it off.
- The switch should now say “Allowed.” Pop-ups will now be enabled for all websites you visit.
Allowing Pop-ups from a Specific Site
If you only want to allow pop-ups for a specific website, follow these steps:
- Open Google Chrome on your computer.
- Visit the website for which you want to allow pop-ups.
- Click on the lock icon located to the left of the website address in the address bar.
- In the drop-down menu, click on “Site settings.”
- Scroll down and click on “Pop-ups and redirects.”
- In the pop-up settings, select “Allow” from the drop-down menu next to “Pop-ups and redirects.”
- Reload the website for the changes to take effect. Pop-ups will now be enabled for that specific site.
How to Allow Pop Ups on Chrome in Mobile App?
You can accept pop-ups on your iOS or Android device using the Google Chrome mobile app.
Allow all pop ups on iPhone or iPad
- Open the Google Chrome app for your phone or tablet.
- Tap the ellipsis-shaped “More” button in the bottom-right area.
- Tap Settings in the box that appears.
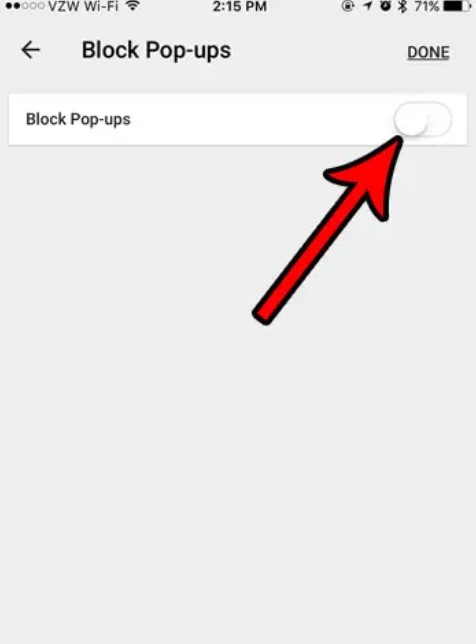
- Move down the page and click on Content Settings.
- On the page where you set up the content, click Block Pop-ups.
- Tap the toggle switch next to Block Pop-ups to turn it from blue to grey. This will stop stopping pop-ups.

Allow all pop-ups on Android:
- Open the Google Chrome app for your phone or tablet.
- Tap the More icon, which looks like three vertical dots, in the top-right spot, and then tap Settings in the box that appears.
- Then click Site Settings.
- Tap Pop-ups and redirects on the Site Settings page.
- Move the switch to the left to stop stopping pop-ups.
Tips to Deal with Unwanted Pop-ups
While enabling pop-ups can be useful, it’s important to be cautious and avoid potential risks. Here are some tips to help you deal with unwanted pop-ups:
- Install a reputable ad-blocker extension: Ad-blockers can effectively block most pop-ups and ads, enhancing your browsing experience.
- Keep your browser and security software up to date: Regularly updating your browser and security software ensures you have the latest protection against pop-up-related threats.
- Be cautious when clicking on pop-ups: Avoid clicking on pop-ups that seem suspicious or offer unrealistic promises. These can lead to malware infections or other security issues.
Also Read: “How to Install Chrome on Ubuntu?”
In Closing
Enabling pop-ups on Google Chrome can enhance your browsing experience and allow you to access important information on various websites. Whether you want to allow pop-ups for all sites or specific ones, the steps outlined in this guide will help you customize your browser settings accordingly. Just remember to exercise caution and be mindful of potential security risks associated with pop-ups.