It can be very annoying to have problems while trying to relax with your favorite Netflix show. The “Netflix Error Code NW-2-5” is one of these issues that could stop you from binge-watching. This error code can show up on a number of different devices. It usually means that your device is having trouble connecting to the internet, which is stopping it from reaching Netflix’s servers. You can use the steps in this article to successfully troubleshoot and fix this problem.
What Is Netflix Error Code NW-2-5?
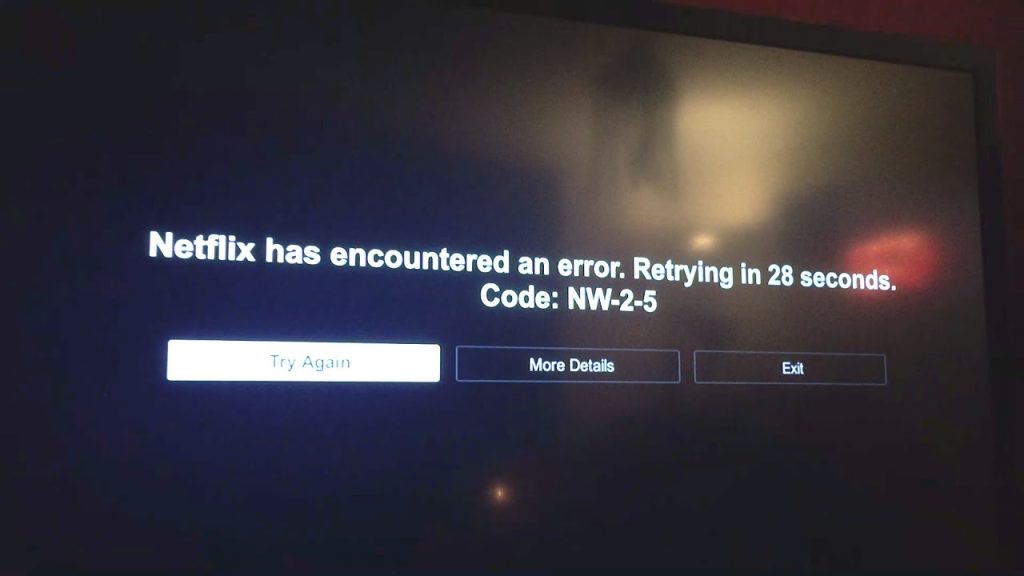
A common error that people may run into when they try to stream Netflix material is the Netflix Error Code NW-2-5. Usually, this error code comes with a message that says “Netflix has encountered an error.” Trying again in X seconds. “NW-2-5 is the code.”
This error makes it clear that there is a problem connecting to the network. The main problem is that your computer can’t connect to the Netflix servers. This could be because of a broken WiFi or Ethernet link, an outage at the ISP, DNS servers that aren’t working right, or even problems with Netflix’s own servers.

How to Fix Netflix Error Code NW-2-5:
To fix the Netflix Error Code NW-2-5, you need to follow a set of steps to make sure that all possible reasons are taken care of. You can fix this error by following these steps:
Attempt to Retry
In order to fix an error message while using a service like Netflix, the first and most obvious thing to do is click the “Try Again” button that appears on the error screen. By doing this, users can try to reconnect with Netflix’s servers again, which might fix the problem and let them watch the video without any problems.
This easy step can be used as a quick fix for short-term internet problems and other small problems that could have caused the error message. If hitting “Try Again” works, users can keep watching without having to do anything else or go through a lot of complicated steps to fix the problem.
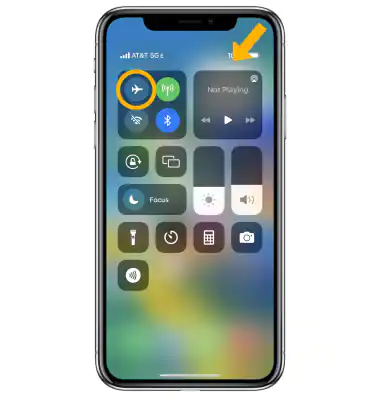
Restart Your Device
Sometimes, errors that happen while using a device are caused by short-term problems that can be easily fixed by restarting the device. When you restart your device, it turns off fully and then on again after a short time. This helps to restart the device’s system and can often fix short-term problems that are causing mistakes.
For the restart process to work, the device must be completely turned off. This is especially important if the device has a sleep mode. By turning off the device completely and then turning it back on, you give it a chance to reset and fix any short-term problems that might have been stopping it from working.
This simple step in troubleshooting can be a quick and effective way to fix mistakes caused by short-term problems with how the device works.
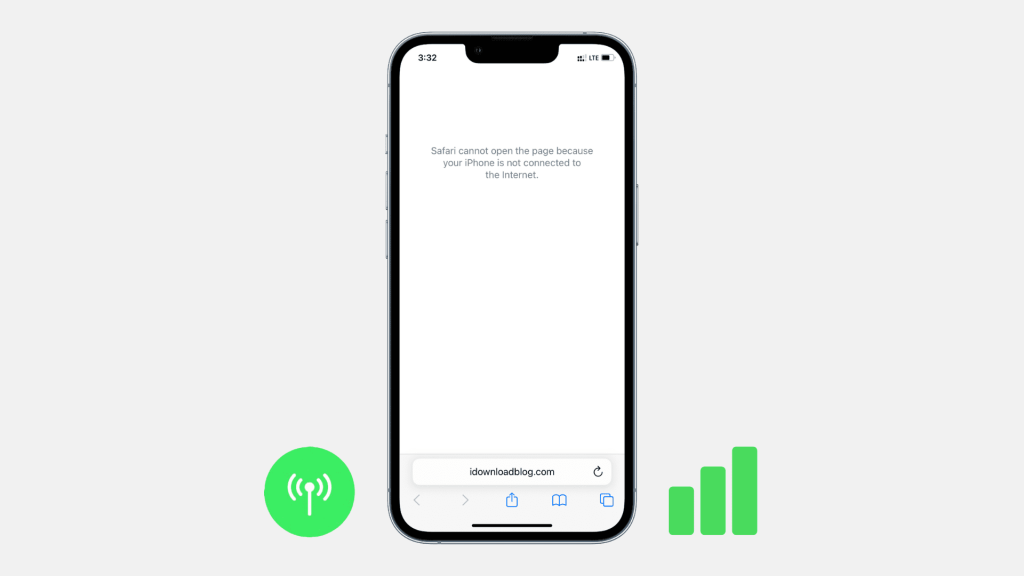
Check Your Network and Internet Connection
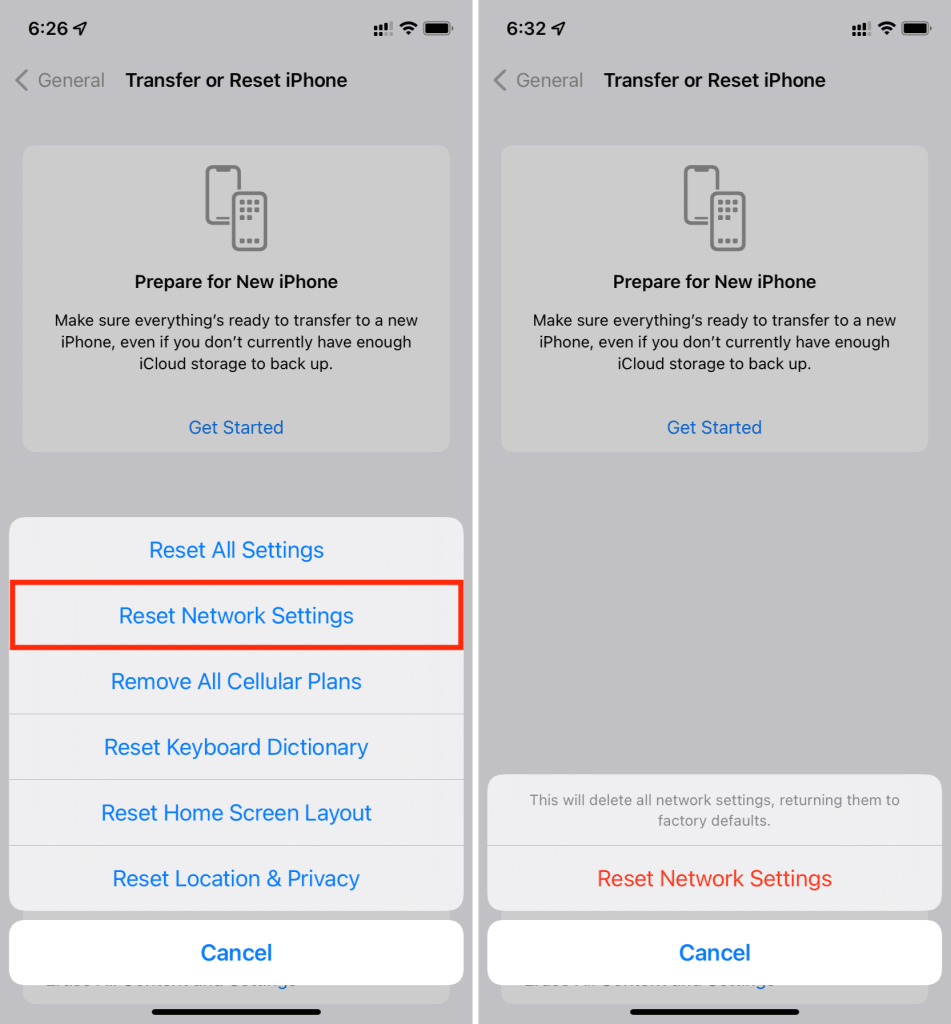
If you see the Netflix Error Code NW-2-5, which is often caused by a problem with your connection, you need to check the state of your network connection to find and fix the problem. First, make sure that your device is safely connected to the router through a stable WiFi connection or a wired Ethernet cable. Check to see if there are any sources of interference or broken cables that could affect the connection.
If the problem keeps happening, you might want to run a network diagnostic test on your device to get a full picture of the link. You can use this diagnostic test to find out more about any network problems that might be stopping your device from connecting to Netflix’s servers. This will help you troubleshoot and find a good answer for this error.
Verify Your DNS Settings
The Domain Name System (DNS) plays a crucial role in establishing a connection between your device and Netflix’s servers. If there is an issue with your ISP’s DNS servers, you might face connectivity issues. In such cases, consider switching to a public DNS server like Google’s 8.8.8.8 and 8.8.4.4.
Check If Your Network Allows Streaming
In some cases, networks may put limits on streaming services like Netflix in order to better control how much bandwidth is used. If you are using a public internet link in a place like a hotel or college, you should check to see if streaming services are blocked or limited on the web connection.
This safety measure is often taken to keep networks from getting too crowded and to make sure that all users can access internet resources equally. To solve this problem, it’s best to check with the location’s network administrator or other appropriate authority to see if there are any possible limits on streaming services.
By asking the network administrator for help and explanation, you can learn a lot about the network’s rules and maybe even look into other ways to access streaming services like Netflix that don’t break the rules of the network.
Improve Your Internet Connection
If you keep getting an error even after trying to fix it, it could be because your internet connection isn’t strong enough to stream Netflix properly. To fix this, you might want to improve the strength of your WiFi signal to make your network link work better. Moving closer to your router is a useful step that can help you stream better by reducing physical obstacles and possible interferences that could weaken the WiFi signal.
If you want a more stable and reliable link, you could also try using a wired Ethernet connection. If you connect your device directly to the router with an Ethernet cable, signal fluctuations will have less of an effect and you’ll have a stable network link for Netflix streaming.
If your WiFi signal is weak, using a wired link might help you get around those problems and make sure you have a smoother streaming experience with no breaks.
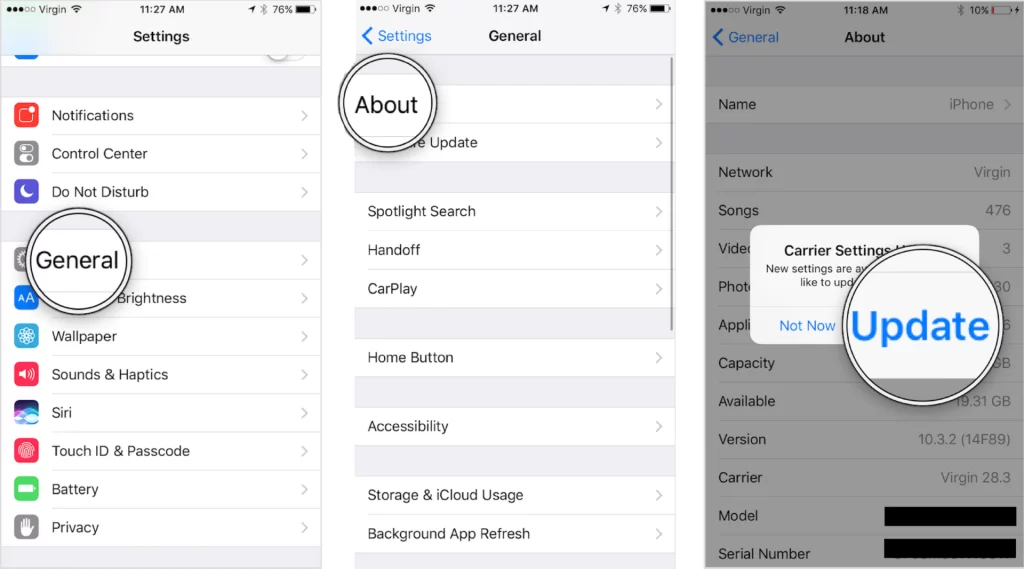
Update Your Netflix App
But if you are still getting the Netflix Error Code NW-2-5, you should think about the chance that an old or broken Netflix app is making the problem worse. If you want to fix this possible issue, you should make sure that your Netflix app is on the most recent version. Updating the app to the latest version can fix bugs, improve speed, and make it more compatible with other apps. This may help fix the error and make the app work better.
In situations where updating the app doesn’t fix the problem, restarting the Netflix app might work. If you remove the app and then reinstall it from the official app store, you can make sure that the installation is clean and that there are no problems or issues with the app.
Using this method can fix problems caused by old or broken app versions, giving you a fresh start for smooth Netflix watching without getting the NW-2-5 error code.
Reach Out to Your ISP or Netflix
There are a few things you can try before calling your Internet Service Provider (ISP) or Netflix’s customer service. To help find and fix the problem, they can give you more information.
Also Read: The Best 5 Working Netflix VPNs in 2023: 1. ExpressVPN
Final Words
Sometimes the Netflix Error Code NW-2-5 can really get in the way of your fun. But it’s not impossible to fix if you follow the right steps. Remember that the key is to solve the problem in a planned way, by dealing with each possible cause one at a time. Just be patient, and you’ll be able to watch your favorite Netflix shows and movies again in no time.