

You might be thinking about how to import photos from my computer to an iPhone?
There are several methods to send your images from PC to iPhone, beginning with iTunes and closing with various cloud answers. In this text, you will discover a complete summary of all the steps to import photos from PC to iPhone. Continue reading for full info and take the best way for yourself:
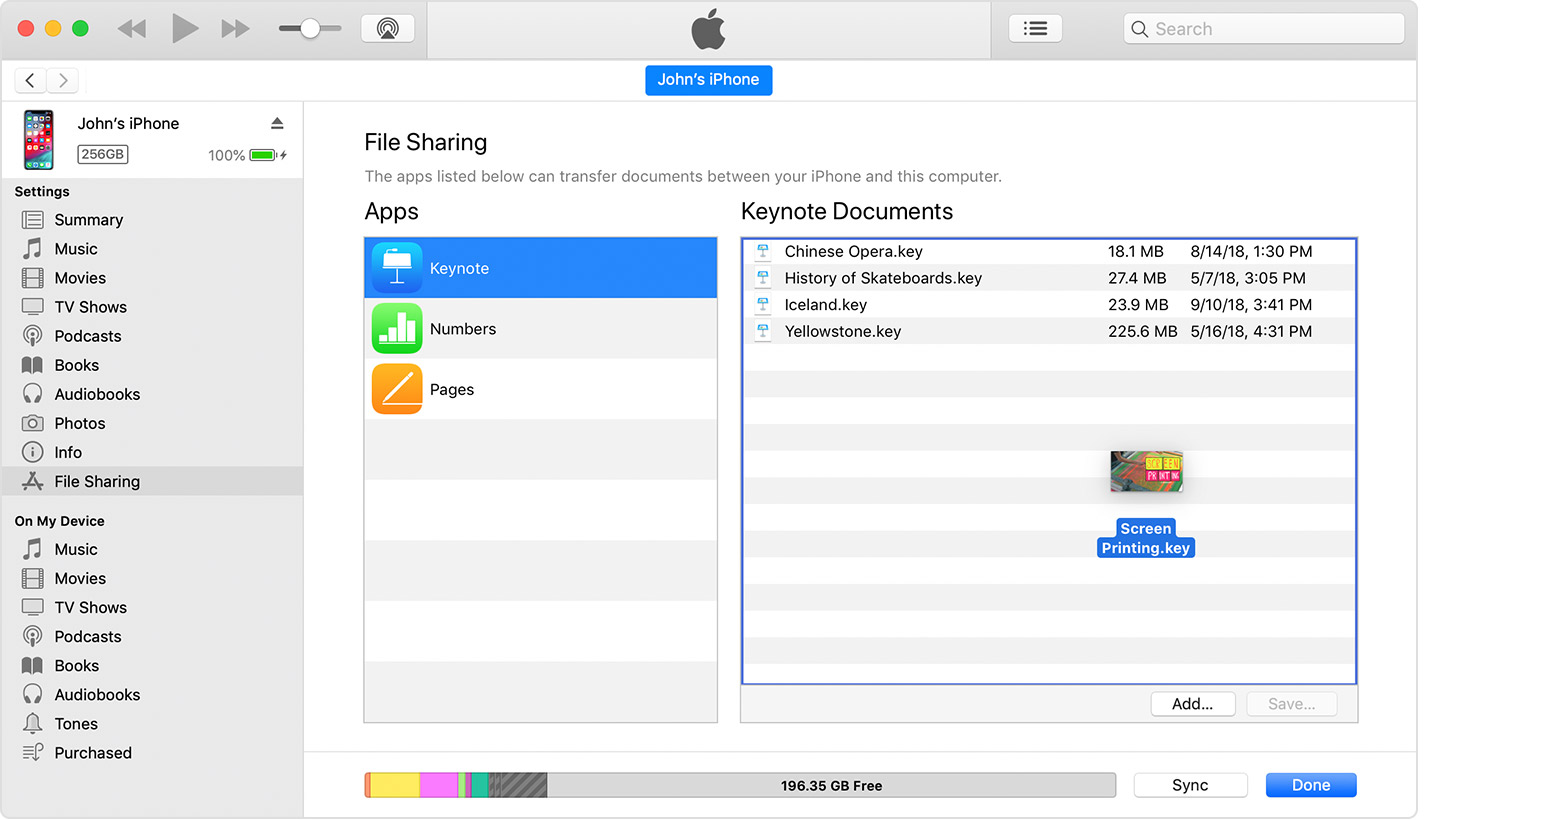
How to send photos to iPhone utilizing iTunes
Here, I want to introduce an app that might reach everyone’s mind when talking about importing photos to iPhone. iTunes is an apple-based solution that enables you to send files to your iPhone instantly. Like all other methods, there is some weakness about using iTunes that I want to state here as disadvantages:
- You can sync one file at all the time. If you turn the folder following, the previous image will delete.
- The process will delete all the pictures earlier saved in Photo Library.
- You can change the images in the Photo Library only from the PC, and iTunes will not allow you to remove the images separately.

Without iTunes, without iCloud
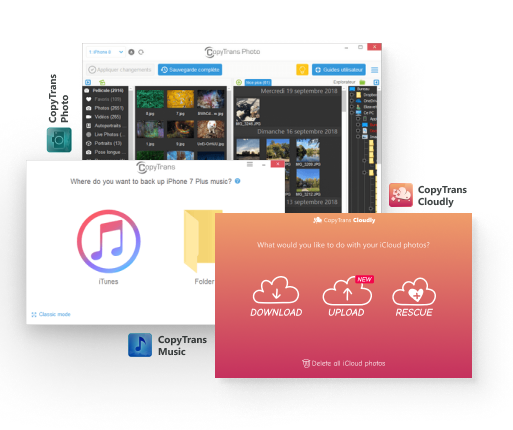
If you need a fast way to send your pictures to iPhone, we have an answer just for you: CopyTrans Photo. The app has an automatic interface, makes everything completed quickly and you can view thumbnails of every file you are running at any time.
Advantages of CopyTrans Photo:
- Holds the EXIF data (date devised, location, etc) & and the best image form.
- Controls your photos offline. To use CopyTrans Photo you do not need an active internet connection.
- Send photos in all forms including HEIC, BMP, gif, jpeg, JPG, PNG, TIFF, GIF, TAG, PNG, PCX, DNG (ProRAW)
The means of sending is easy and I will tell you the instructions below.
Here is how to import photos from PC to iPhone:
- First, you need to download and install CopyTrans Photo.
- Start CopyTrans Photo. Link your iPhone to a PC with a USB cord. If advised to trust PC, push “Trust”.
- You will notice your iPhone photos on the left side and your PC images on the right.
- Build the latest album on the left side of your iPhone. If you tick on this album, the practical section will reveal the contents (no data there for now).
- Utilizing the folder tree on the right PC faction, drive to the PC file with the photos you need to import.
- Choose the photos and Drag and Drop them from the right PC field to the left iPhone field.
- Tick on “Apply Changes” and remain for the syncing method to finish.
- Now, finish and your photos are ready in the file “From my Mac” on your iPhone.
Extra points about CopyTrans:
You can import files like .mov and .mp4 videos of less than 1Gb.
Send images and videos from iPhone back to PC.
Import Live Photos from iPhone to PC and again to iPhone, saving the Live Photo impact.
Take a full backup or an incremental backup of your images on a PC or external hard drive.
Enables you to see HEIC photos, send them in the primary or in JPEG, or change HEIC to jpg.

Send photos from computer to iPhone via Google Drive
When you make a Google account, you are automatically qualified for 15Gb of free area on Google Drive (formerly SkyDrive). But, Google Drive gives this storage term with other apps, like Gmail and Google Photos.
In the system of using this choice, you need to download the standard Google Drive app on your PC and your iOS system. If you run Google Drive on your PC, make a new folder and duplicate photos to your iPhone. The file will show the images on iPhone in the Google Drive app.
You can make new folders to send various photos to iPhone and transfer them within folders. There is additionally a probability to order photos in one folder by time and name.
Disadvantages:
- You can not save the uploaded photos in the original Photos app on iPhone except the Google Drive app.
- You cannot update the photos in the app without first drawing them into the original folder – double act.


Conclusion:
If you do not use cloud resolutions, find iTunes difficult to work, and need to keep your photos in the original Photo app, CopyTrans Photo is the most suitable solution for you. Also, in the above text, I introduce some other ways in detail that you can use.


:max_bytes(150000):strip_icc()/how-to-screen-record-on-the-iphone-12-50846251-3ee09bd0b7244b3ca7fa03984f483a50.jpg)


