Today many people choose smartphones as the most comfortable and most durable way to interact with others. When you connect to the internet with your smartphones, you can send instant mcessages, make calls, and distribute multimedia records with anybody you like. Sometimes youth do not use their phones in a good way, and because they are scared of their parents, they keep their phones secret. If you are a parent, you might be concerned about what he is doing with his phone.
How to read someone’s text messages without their phone?
One famous way is to learn all about spy apps that help you read texts without their phone.
Here, we introduce four famous tools that help you to read someone’s messages without their phone.
Most real Spy Apps to Monitor Someone’s Text Messages
If you want to see text messages from your private phone without them understanding, the best way is to choose a spy app. But recognize that you might find many fake spy apps through the internet for both Android and iOS phones. Because of that, I made a list of the top four spy apps for you to read someone’s text messages.
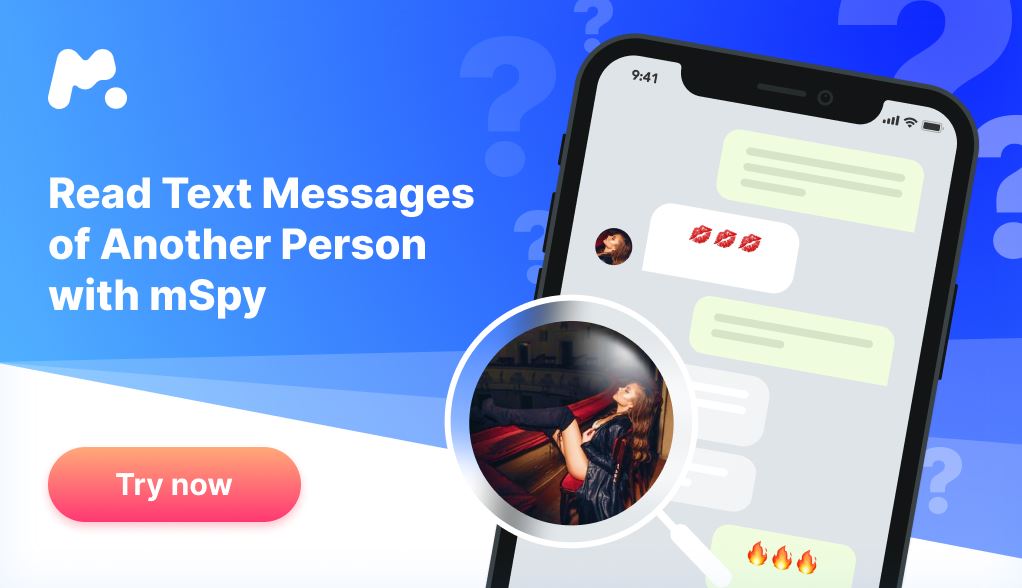
- mSpy
If you want to read some’s messages out of their phones, you can use the previous app, but mSpy is another option that could be a more complicated one. This perfect cell phone monitoring clarification gives you the perfect compound of affordability, performance, and security. More than that, this app is secured by a privacy-conscious developer, which means personal data is only available to you.
There are many reasons why you have to choose mSpy. Here, I listed some key reasons.
Extremely Affordable – After its free trial, you have to pay for this app like others. But its regular pricing is highly aggressive, and you will not get a more feature-rich app with this price.
Plan for All Budget – There are multiple plans that you can take based on what you need. Also, this app provides plans to monitor multifold devices like families and employers.
Feature-Rich App – mSpy delivers different features from basic ones like text and call monitoring to advanced ones like keylogging and locating tracks.

Some key features involve:
- You can monitor incoming and outcoming calls and text messages.
- You can access related information like time marks and contact numbers.
- You can monitor social media networks with prepared messaging apps.
- You can see online projects and histories even if he deleted them.
- You can track places in real-time and establish safe zones to receive immediate warnings.
They have 24/7 Customer Service, and it means if you face any problems or have any questions or matters, you can contact the app’s customer service as you wish.
- XNSpy
A decent cellphone monitoring solution is XNSpy that you can download for free. With this app, you can read someone’s text messages without their understanding. You can read, sent, collected, and removed messages on both iOS and Android-based phones. You should not hold the app on the iOS device all along you need it. Just, this app needs to be on your device for several minutes as it wants to be placed on the destination phone to work.
- Spyic
The next free spy app that I want to introduce is Spyic. It is a trustworthy style in the cell phone monitoring application. As well as XNSpy, it is a spying clarification. It helps you can to read someone’s messages out of their phone. Another feature of this app is that you can use it to do call monitoring, position tracking, and social network monitoring
- Cocospy
Cocospy is another free spy app that you can use as well as mSpy. Its specific features let you find the target device and track it as you want.
Once you install Cocospy to monitor another phone, be sure that it will record all the activities.
With this app, you can find which potential dangers your child may fall into, and you can control their chats on different social media apps, call records, as well as text messages.
We think mSpy and Cocospy are some of the best SMS spy for Android device.
COCOSPY Features
Know I want to mention some of the most important points of Cocospy that you will enjoy.
GPS tracking-Tracking the GPS location of a device might be much helpful for you. With this feature, you understand where your target is at a specific time. Also, you can use this feature if you lose your phone. If you have Cocospy installed on your phone, you can access the GPS tracking feature and find the location.
Messages tracker (read all messages)- Cocospy can track all messages, even SMS. This app saves all sent or received texts on the control panel of this spy app. Also, you can track all media or audio files transferred between the mark phone and any other contact.
Stay informed with all the social media chats– If you install Cocospy, you can see the target chats on any social media you want to know. Facebook, Snapchat, Instagram, Twitter, Whatsapp are among these social media that you can track. Also, you can use it for other social networks that are not so popular.
Check the call logs-Another important feature about Cocospy is that you can check the call logs, too. It makes you able to monitor all incoming and outgoing calls. This information contains the contact name, phone number, day, time, and call duration. You can find the five most called contact in the dashboard. So you will find the people that the user contacts more. As well as an odd contact appear, the app will warn you.
Photos & video tracking-There is another unique aspect of this software. It enables you to see the actual pictures in the gallery of the target phone. Also, you can save them on your device, and the user might not understand.
How to hack text messages without access to phone? (Read texts online) (Title)
Today, most of us spend a long time of day using our phones, so it might be interesting to hack text messages without access to phone and read text message. Pay attention that it is a difficult task and not eligible and moral. But here, you can read about how to spy on someones phone without them knowing for free to satisfy your curiosity. Continue reading and learn more about how to read someone’s text messages without their phone free, while we do not suggest it.
Why Should you hack text messages without access to phone?
There are many reasons that people decide to hack text messages without access to phone. While none of them is acceptable and we suggest you find a better solution to solve your problem, here are some reasons that cause people to search how to see someones text messages without them knowing. The first group is parents who think they should regularly spy on their kids’ cell phones to provide kids safety. The next group includes employers who spy on the text messages of the employees because they do not trust them. Also, a cheating spouse can cause the other to find a way to hack text messages without access to phone because of suspicious actions.
Can you hack text messages without access to phone?
Now, you might ask can I hack text messages without access to phone? When you hack text messages without access to phone, it means you can view text messages sent and received. The answer to this linger long question is a bit complicated. While the security system of user data is an important factor for all phone makers, it does not mean that there is no way to hack text messages without access to phone. Thanks to the advancements in technology, you can do it using a good app that reads text, designed to read text message or track any other activity of the target phone. To save your time, we have collected some of the most reliable hack apps that help you read texts online from another phone without their knowledge, which you can read in the following.
How to Get Text Messages from Another Phone Sent to Mine
If you want to know how to receive text messages from another phone number, this paragraph is for you. If you want to get text messages from another phone on yours, you have to use phone spy software to access information from the target phone in real-time. You have to log into the online control panel of this software, and the text messages will be sent to your phone. Also, you can catch everything the user sees, like Facebook messages, Snapchats, pictures, call logs, contacts, and location tracking.
If the target system is an iPhone and you want to get texts on your phone, you can use different surveillance apps like uMobix. Also, you need the iCloud certificates of the user you want to monitor.
From an Android
If the target system is Android and you want to get the messages to yours, you can still use apps like uMobix.
But for Android devices, you need to install the app directly on the phone, which means you need to access the target phone for at least a few minutes. So there is another problem with unlocking the user’s passcode and access to the phone. But if you successfully install the app, the user will not understand as it can be hidden.
How to spy on someones phone without them knowing for free (Android Solution)
Previously, I told you how to spy on someones phone without them knowing for free. Here, I want to introduce some of the best-hidden spy apps for Android that you can use for free. The first option is Spyic, the favorite app that no other app can compete with. Cocospy is the next option that provides the closest contest to Spyic. Spyier is another phone spy app you can use to monitor someone’s messages (SMS). Also, you can use Minspy as an undetectable Android spy app to monitor your kids or employees.
How to spy on someones phone without them knowing for free (iOS Solution)
If you want to know how to read someone’s text messages without their phone free on the IOS system, do not miss this paragraph. Here, I will introduce some apps that help you how to spy on someones phone without them knowing for free. While you can use all the above apps that were introduced for Android here to spy on an iPhone, there are more apps like: Spyine, Spyzie, Appmia, and GuestSpy.
How to see what someone is doing on their phone
If you want to know how to see what someone is doing on their phone, that is easy. While I don’t suggest you use these ways to track someone’s activities secretly or read text message, you can do it by using some third-party apps. What you need is a phone spying solution that helps you hack someone’s phone without touching it. Whether you use an iPhone or Android system there are good spy apps that you can download and use for free. To find out more about them read the two previous paragraphs.
How to tell if someone is spying on your iphone
While many people get spyware on their phones each day, it might be a popular question how to tell if someone is spying on your iphone. Here are some signs showing you someone might track your phone activities secretly.
- Unnormal High Data Usage
When you have spyware on your phone, it uses the internet connection to send information to the person spying on your phone.
- Your Phone is Jailbroken
If your phone is jailbroken it means it is set free from the initial limitations that the factory or cell phone carrier set, so people can easily put their custom applications on your phone.
- Short Battery Life
If you do not have any problem with your phone battery, but suddenly it begins to die quickly, it can be a sign of spyware.
- Unfamiliar Applications
Make a comprehensive check on your phone’s applications, and if you find something unfamiliar, delete it immediately.
How to read texts online (app that reads text)
There are three steps that you have to do to read someone else’s texts online. First of all, you have to set your goals like: Worrying if your child is visiting harmful sites, tracking your kid’s movements and location, or reading an important mail or message. So you can choose the best app based on your goal. Then you have to find a way to install the app on the target phone. If you can access the phone, you can do it yourself easily, or you can send an invitation link to him and be hopeful that he will install it. The last and the most important point is to choose a useful spy app. Following here, you can read about three of the best spy apps.
Minspy app
If you are looking for a spy app to read text message or track other actions on a target phone, here it is. Use the minspy app and see what they see, know what they learn wherever you are. It is among the most popular hidden apps and is an easy-to-use app, which will help you to monitor modern smart devices. You can track a wide range of options like calls, locations, apps, and messages. It’s secure, intuitive, and browser-based.


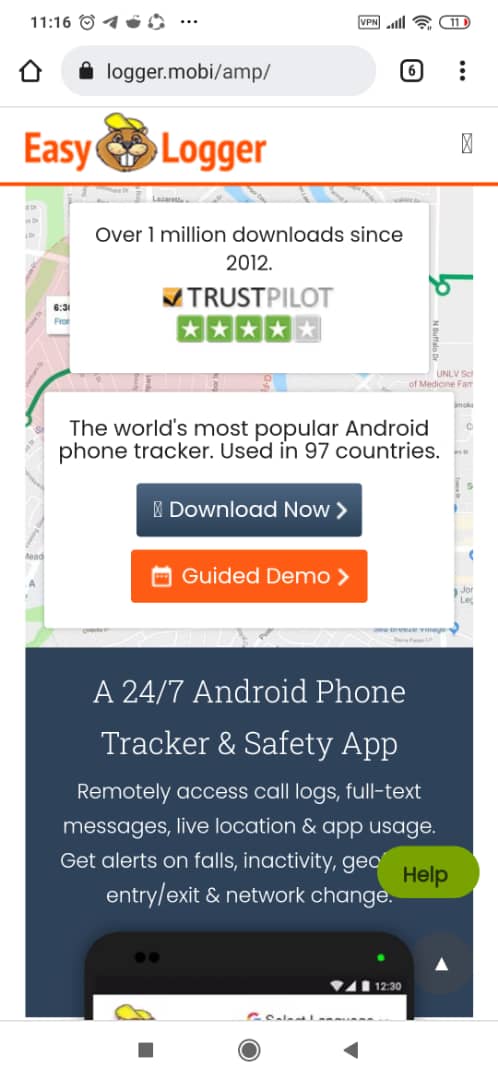
Easy logger
If you need an app to spy on someone’s phone, especially read texts and hear the calls, the easy logger is a great choice. It is a free subscription app that many people use an effective SMS tracker and call logger. Also, you can use the Easy Logger Pro subscription as a more complicated cell phone tracker and monitoring tool to track location, calls, texts, apps, and more.
Let me spy
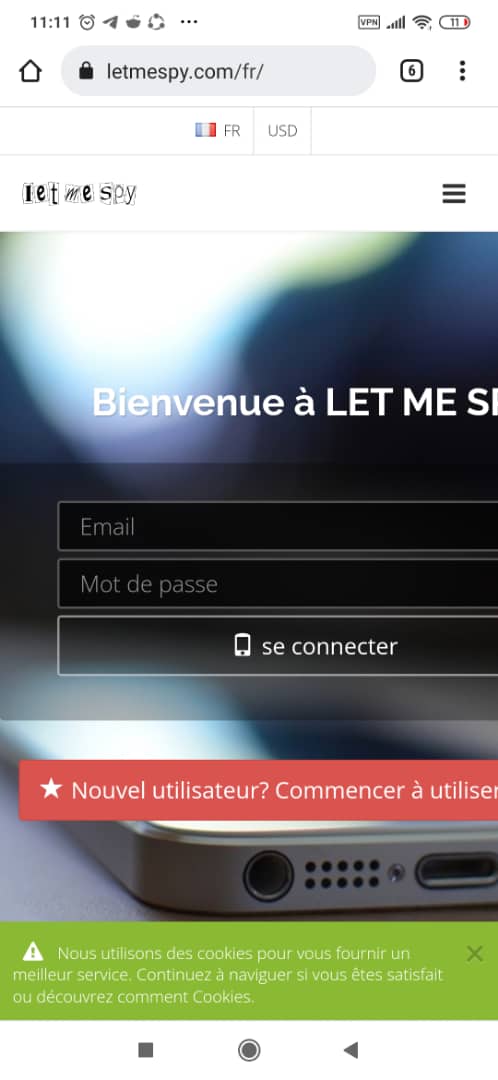
If you are using an Android mobile phone and need a free spy application, LetMeSpy (LMS) could be a great choice. You can track Calls, SMS, and GPS locations if you install it on someone’s phone. The big advantage is that this is a light program that is invisible to the user. What you have to do is to download the installation file and install the app on your targeted phone. Now, spy the tracked phone 24 hours/day on www.letmespy.com.
Conclusion:
While I do not suggest you spy or hack anyone’s phone as it is not moral or even eligible, in the above text you can read all points about how to read text messages from another phone without them knowing, how to spy on someones phone without them knowing for free, how to see what someone is doing on their phone, or even how to tell if someone is spying on your iphone. If you are so curious about this topic read the above text and find your answers.